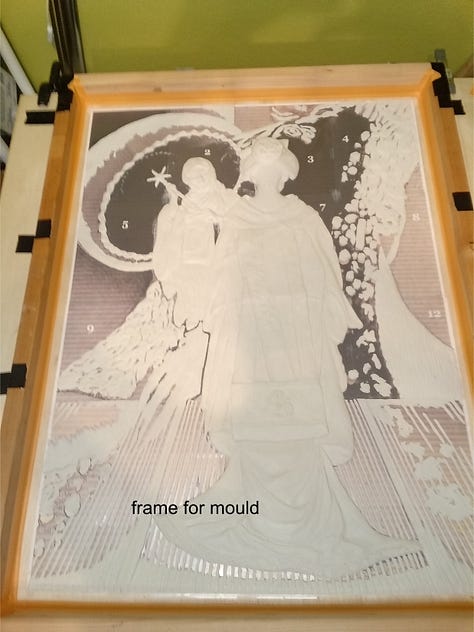
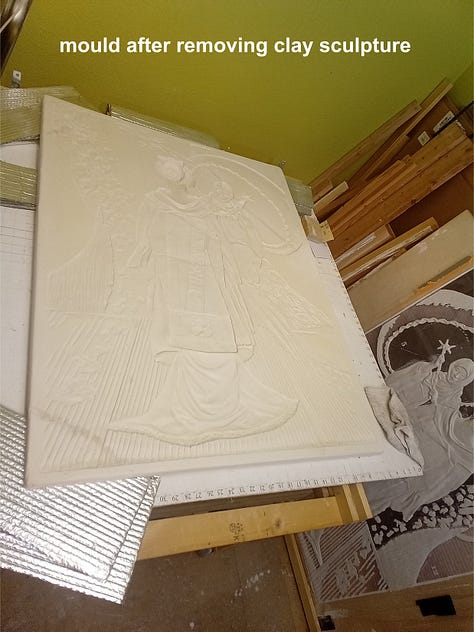
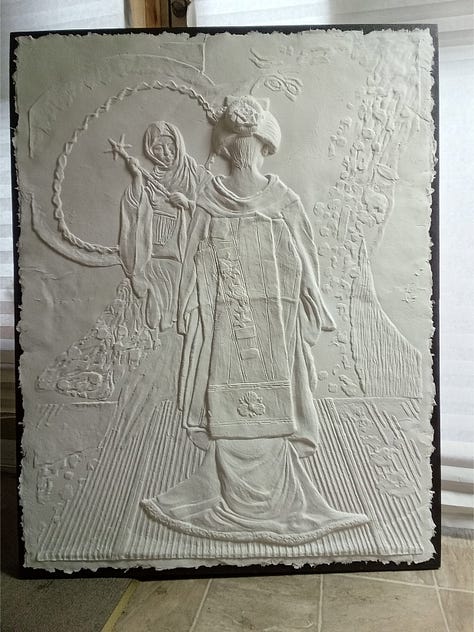
For last ten months, instead of continuing to paint in my normal fashion, I've taken time off to pursue another technique to add to my artistic output; I've been developing my skill creating bas relief sculpture, casting it with handmade paper and then painting it in oils. It's a continuation of my neverending search for the right tactile expression that lights the fire within. At this stage, it's only an experiment but I find great promise in it.
One of the most difficult aspects to this method in my visual art is to keep the relief under two inches and still have a good representation of the subject(s) from whatever angle. Foreshortening is the greatest challenge. Only at extreme angles will you notice deformity in form.
What I find truly pleasurable, the collector can to alter the art by shifting the light source; thus, the shadows cast by the light will radically change the look and feel of the artwork. The connoisseur as participant—very cool.
I have sketched around six different pieces I want to take on. If these work well, I'm planning on doing my "Olympia" series (12 works) and "Apple on a Beach" series (8 works). I've completed my first two pieces, one from my "Kimono" series and the other from my "Eden" series. In the process, I learned a lot about paper making and how color paint can be used for base relief work. I was inspired by the knowledge most of the ancient Greek and Roman sculptures were painted and not left as white marble, but it may come a time when I don't paint the paper and leave it in its natural state. It will depend on the work—and my courage.
Process
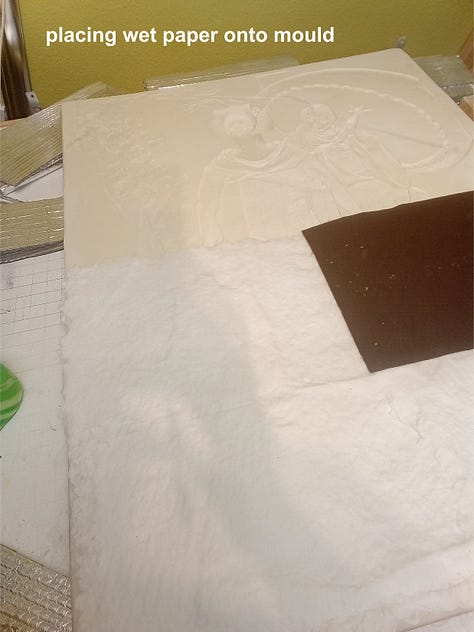
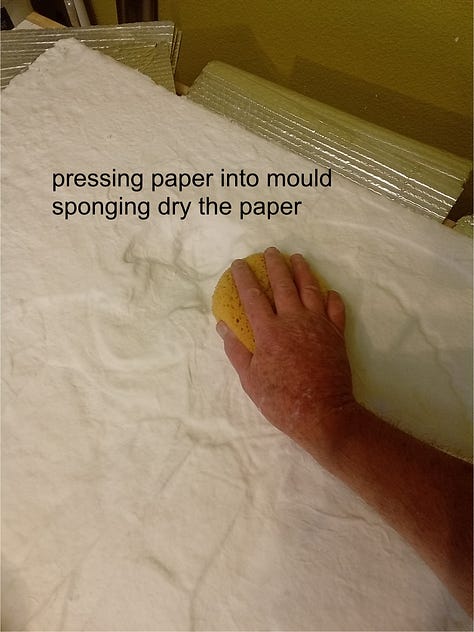
(see images and video at the end of post)
Paper
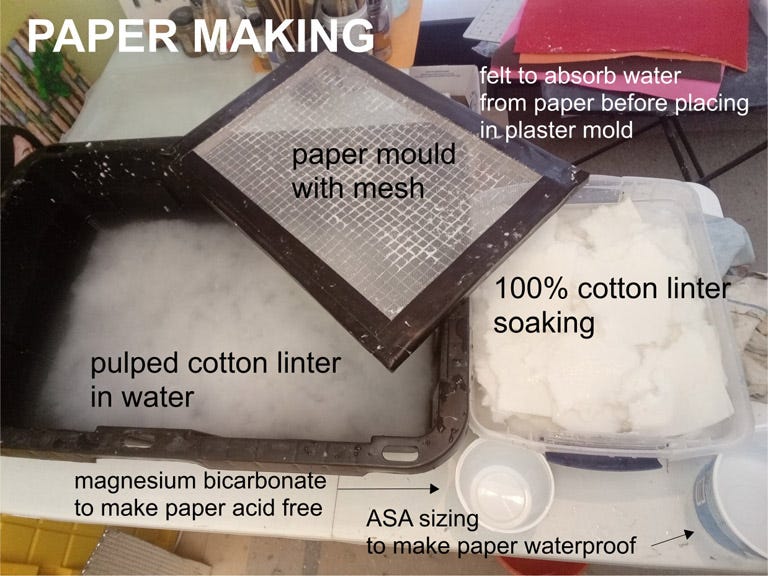
I take 2nd cut cotton linters sheets, cut them into small 3 inch pieces and soak them in water overnight. (The short fiber of 2nd cut linters makes it very useful to pick up details in casting or other types of paper sculpture; see description below.) I use an industrial blender to pulp the soaked linters, adding calcium carbonate to the mix making the paper non-acidic. In approximately five gallons of water, I add an alkyl ketene dimer as a protective filler to change the absorption and wear characteristics of the paper.
After pouring several batches of pulped paper into the vat, I stir it for several minutes to help the sizing penetrate. I test the vat's particle thickness with my hand and if needed, add more pulp, and when I'm satisfied, I take an 18 inch x 12 inch framed mesh (without a deckle) and scoop up the pulp, shaking the frame until the water stops running back into the vat. After a felt cloth is laid over the wet pulp, I flip the meshed frame over. Tapping the frame, the paper comes loose and I lay the felt cloth (paper-side down) on the plaster mold. After carefully pulling the felt cloth off, a very wet paper pulp sheet is left in the mold. ( I don't use a deckle; I want the paper to have long trailing, hair-like edges that weave with the previous laid paper edges, helping me to turn about 16 sheets into one large sheet. But I have to be careful: if I overlap the sheet too much it leaves a thick bulge running the length of the sheet that's apparent after it dries).
Once all the sheets have been laid (2 layers), I use sponges to press the paper into the mold to give the paper a crisp finish (the external sizing helps with this) and help it dry faster. This is the most arduous part of the process. I will spend an hour or more constantly pressing the sponge onto the paper and wringing the sponge out. When the majority of the water is gone, I use tighter, smaller holed sponges until it is almost completely dry. Off and on for the next two days I take a dry sponge and tamp it over the surface for fifteen or twenty minutes. This way, the paper won't buckle or expand or warp as it drys.
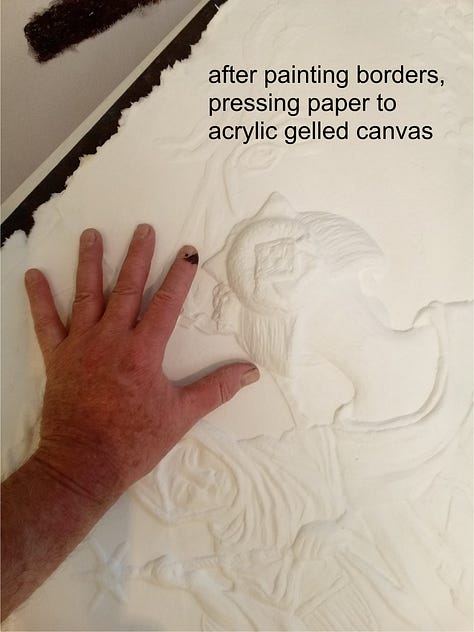
After a couple of weeks of drying (aged paper is better and for larger work I would wait a month), the paper is adhere to a 1 1/2 inch deep frame.
2nd Cut Cotton Linters
This pulp is produced from the short seed hairs of the cotton plant. When cotton is ginned, the long staple cotton is removed from the seed and used to make cloth. When the seed is processed further in a machine called a "linter", which removes the rest of the seed hairs (the closer to the seed, the shorter the fiber), the more refined and is used for quality paper. The first pass of the seed through the linter machine results in 1st cut cotton linters; the next pass produces 2nd cut cotton linters.
Sizing
Internally with alkyl ketene dimer, a purpose made synthetic wax, and I add rice starch to strengthen and smooth the paper. Since the paper is sealed internally then gessoed, it does not need to be behind glass, but as with all works of art, should not be put in direct sunlight.
Frame
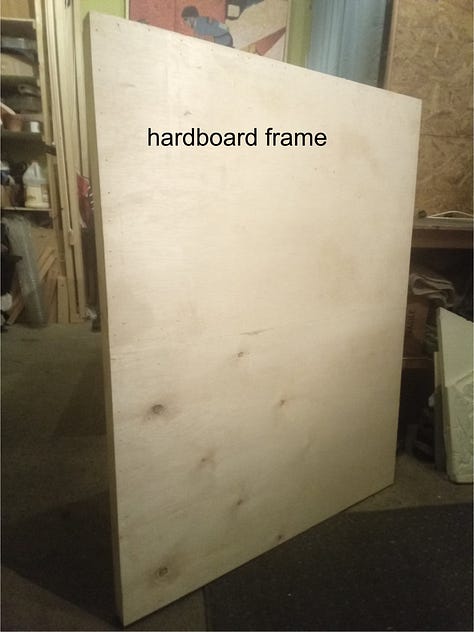
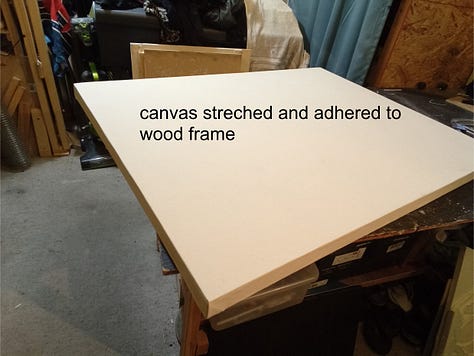
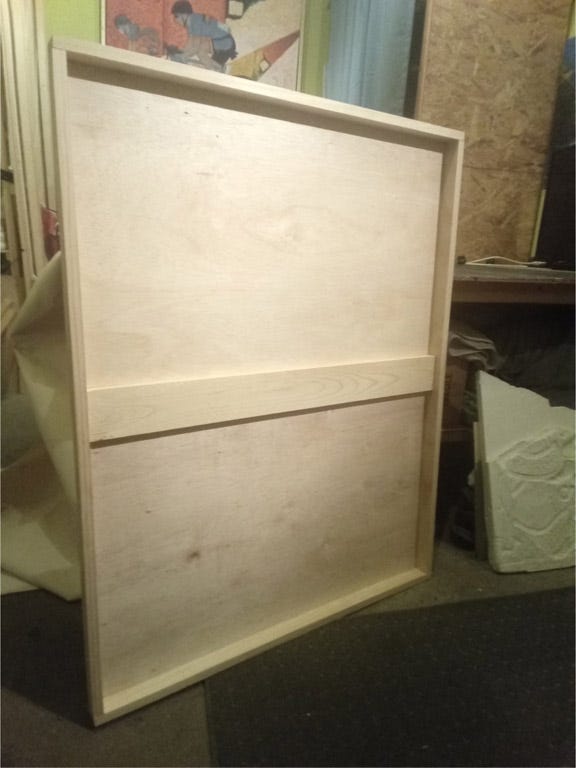
The frame is made with 1 x 2 graded whitewood board attached to a wood panel. The wood panel is sealed except for the panel's face. A thick layer of acrylic gel is painted on the panel's face, then a heavy weight duck cotton canvas is stretched over the frame and using an ink roller, is adhered to the wood panel. After two days of drying, the paper is attached to the rigid canvas frame with an acrylic gel. After drying, I add two coats of thinned acrylic gesso. Usually, I wait a week before painting on the prepared paper.
Paint
All my paint is made with walnut oil. Walnut oil is one of the least yellowing oils and has a hard, enamel like finish I like for my sculpted paper. When it dries, it gives the paper strength and protection.

